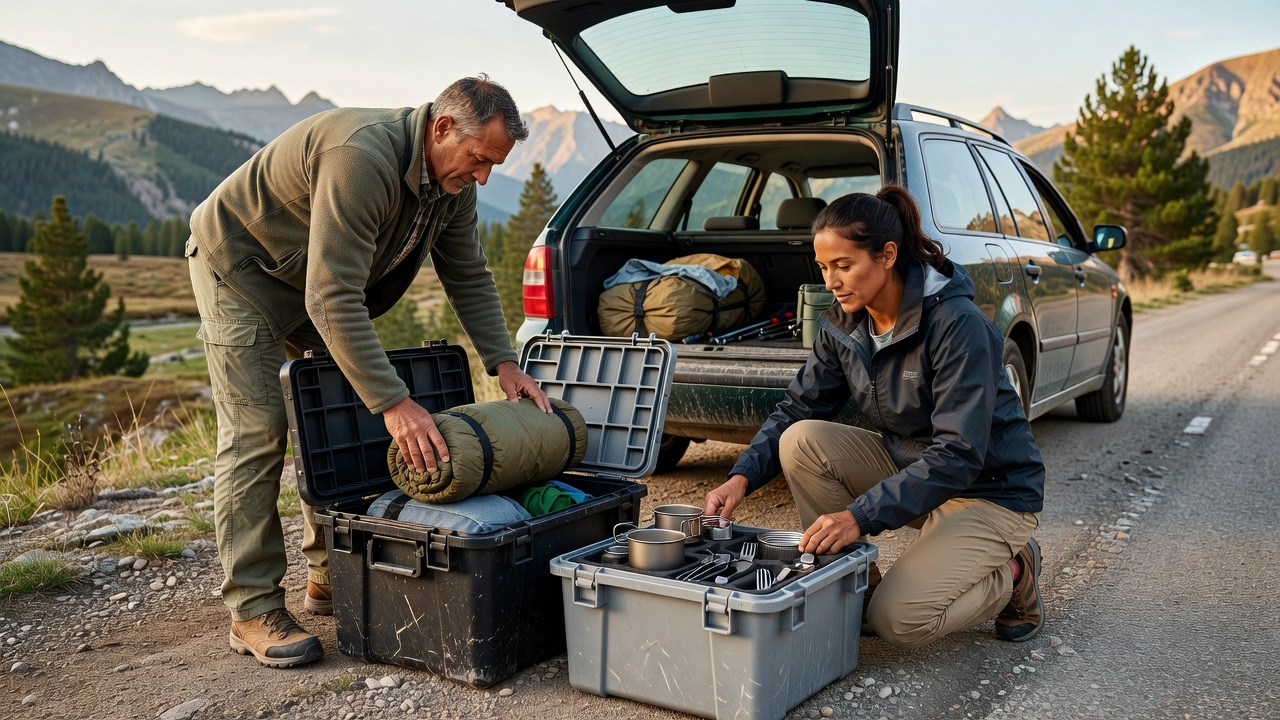
Build for tasks, not for a shopping list
A good touring kit is a small working system. Each part should solve a repeated problem, fit the vehicle and be manageable when loaded. Before buying anything, write down the jobs your trip involves: a roadside meal, a campsite arrival, a change after a wet walk and a departure the following morning.
Then examine the equipment you already own. A sturdy washable crate may work perfectly for cooking equipment, while a soft bag suits clothing in an irregular space. Matching containers can look satisfying, but uniformity is less valuable than good access, sensible weight and a secure transport arrangement.
Create a first-stop module
Put the items needed during the drive in one accessible group. This might include snacks, suitable drinking water, waterproofs, wipes and a small rubbish bag. Personal medicines need storage that follows their instructions; do not assume a hot parked vehicle is suitable. Keep anything critical to a passenger’s wellbeing in an appropriate, readily accessible place.
Secure this module before moving off, even when it is light. Access should be designed for when the vehicle is safely parked, not for a driver reaching behind the seat. If children need travel activities, select and position them with the vehicle’s safety systems and the children’s restraint arrangements in mind.
Pack arrival in the order it happens
Picture the first few minutes at your destination. You may need a coat, a light and shelter before bedding or cookware. Put these items where they can be reached without leaving the remaining load unstable. A clearly labelled arrival bag is often more useful than a large miscellaneous equipment box.
For camping, separate what is required to pitch from what is needed later inside the tent. For accommodation stays, a small overnight bag can avoid unloading the whole car. Keep valuables and sensitive documents with you as appropriate; a boot, opaque bag or roof box should not be treated as guaranteed secure storage.
Choose durable containers intelligently
Durability means more than thick plastic. Inspect handles, hinges, catches and replacement-part availability. Consider whether the container becomes brittle in cold conditions or distorts when stored in a hot vehicle. Read the manufacturer’s claims carefully: water-resistant, splash-resistant and submersible describe different levels of protection.
Pelican, Zarges and Really Useful Products are examples of established container makers with different product ranges. Their names are starting points for investigating specifications, not a recommendation that any particular product suits your car. Compare the exact model’s external dimensions, empty mass, intended use and closure design.
A container can be excellent for protecting fragile contents yet poor for vehicle loading if it is too heavy or difficult to secure. Where a manufacturer provides attachment provisions, confirm how they are intended to be used. Ordinary lifting handles should not automatically be treated as restraint points.
Keep the kitchen and wet kit distinct
A task-based kitchen module makes meal stops simpler, but food safety still matters. Use suitable food-contact containers and maintain required temperatures for perishable food. A powered cool box introduces electrical demand, ventilation needs and cable routing, so check the vehicle outlet rating and the appliance instructions before relying on it.
Wet equipment needs its own temporary home, ideally something removable and washable. Keep damp footwear away from bedding and allow wet items to dry promptly after travel. Separate cleaning products from food and preserve original labels. Follow the relevant precautions for any gas cylinder, fuel container or other hazardous material; it cannot be made safe merely by putting it in a crate.
Let the route change the kit
A trip through the Lake District may make frequent access to waterproofs useful. Touring Snowdonia, also known as Eryri, may involve wet walking equipment and muddy footwear. An Alpine road trip may place greater emphasis on changing conditions and local equipment requirements. These examples illustrate planning needs, not a complete equipment list for any destination.
Ferry operators such as DFDS and Brittany Ferries publish requirements and practical information that can affect vehicles carrying external equipment or restricted items. LeShuttle also provides travel guidance. Check the operator’s current rules for your booking and route rather than relying on an old packing checklist.
Keep a short reset routine
After each trip, empty rubbish, dry wet items and inspect containers and restraints. Refill consumables only if they belong in the permanent kit. Record the item you repeatedly searched for and the accessory that never left its bag. Those two observations are better buying advice than a list of fashionable touring gadgets.
Keep a simple inventory inside each module. Mark anything removed between trips so it is not silently missing next time. Review the whole kit when the passengers, season or vehicle change. A system built for two adults is unlikely to remain ideal when a child, pet or new hobby joins the journey.
Finally, perform a fully loaded rehearsal with your boot layout and restraint plan. The kit earns its place only when it travels securely and makes the next stop easier.